

Friday, 14 December 2012
Tuck Foot Samples
My last day at college before the Christmas holidays and I'm in the textiles workshop to work on a sample for 3DSP. For 3DSP I've explored the basic quilting techniques and now I've made the decision to look at fabric manipulation. Looking through The Art of Fabric Manipulation book and talking to Becky I got to try out using the tuck foot on the sewing machine. The tuck foot requires two needles which was new for me as i'd never tried two needles at once before and it was tricky as the threads would tangle. The tuck foot pulls up the fabric and sews it creating lines of folds. I started by seeing what I can do with it, whether I can curve it or sew over them. For my second sample I tried doing continuous lines next to each other. I think having the lines alongside each other to work the best but you can't be sure on the change of size of the fabric as it will get smaller with each line.


Thursday, 13 December 2012
Torn Fabric Samples
I went into the metals and wood workshop with a pocket full of scrap fabric with the plan to find a way to make fabric look worn and torn. After a discussion with Rich it was thought that anything that is hand held and can scratch or damage something. I found four techniques to tear into the fabric that were:
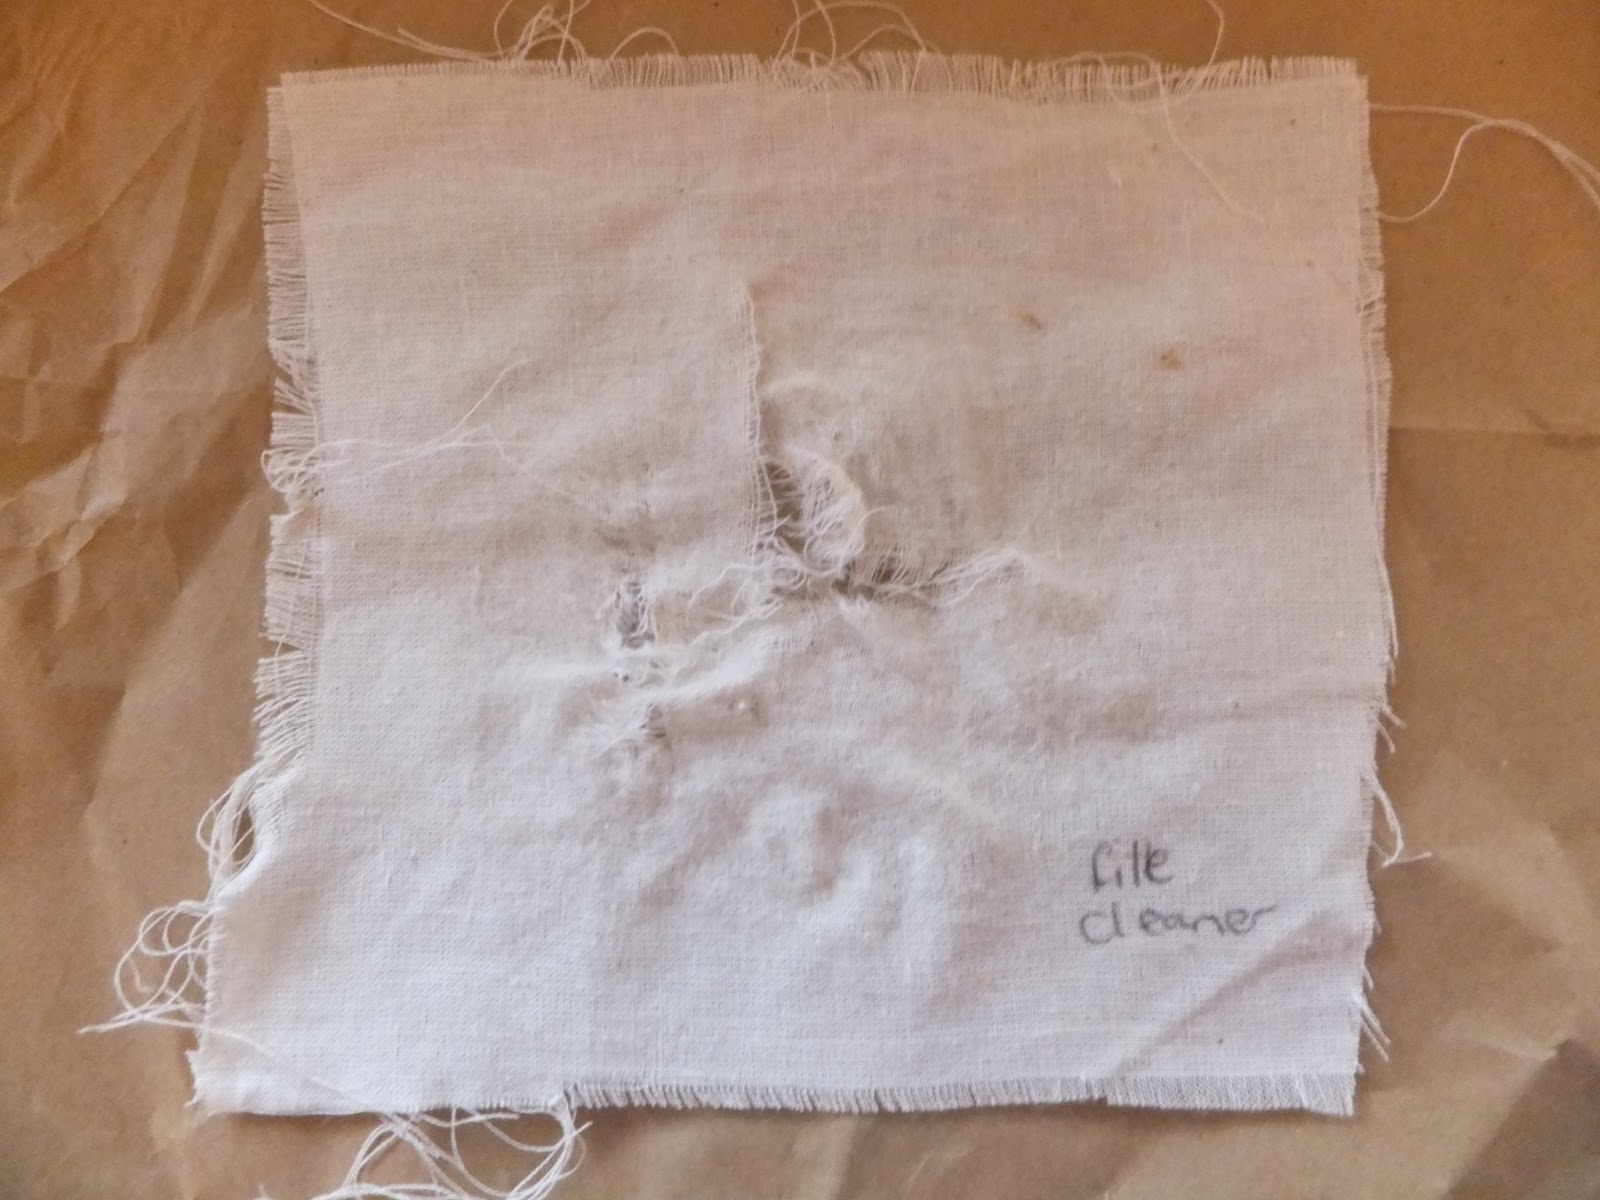
I found scraping into fabric to be quite difficult as it doesn't stay in place and I had to staple it to a piece of wood. I don't know how it will work with larger pieces or layers. I found that the wood rasp worked the best and easiest to wear into fabric.
I tried the wood rasp on some layers of fabric stitched together. I found that it only tore through the top layer. This could really work but I want to try seeing whether I should stitch it then tear it or tear it then stitch it. It would also help to see how it would look with coloured or patterned fabric to see how it looks in conjunction with the torn fabric.


- With a hook in a hand power drill, hook into the fabric and power it to leave little holes where the hook tears out.
- Scraping over it with a file scrapper that cleans them, slowly wearing away at the fabric
- Using a saw to scratch into the fabric, tearing it
- Using a wood rasp which looks like a cheese grater for wood to scrape into the fabric
I found scraping into fabric to be quite difficult as it doesn't stay in place and I had to staple it to a piece of wood. I don't know how it will work with larger pieces or layers. I found that the wood rasp worked the best and easiest to wear into fabric.
I tried the wood rasp on some layers of fabric stitched together. I found that it only tore through the top layer. This could really work but I want to try seeing whether I should stitch it then tear it or tear it then stitch it. It would also help to see how it would look with coloured or patterned fabric to see how it looks in conjunction with the torn fabric.

Hand Drill & Hook
File Cleaner

Hand Saw

Rasp

Rasp on Layers of Stitched Fabric
Gravity - Paddy Hartley
Another gravity lecture, this week from Paddy Hartley. From looking at his work previous to the lecture I was unsure I was really going to be interested in his work as it seemed they outrageous and obscure. During the lecture I found it to very interesting to see the ideas behind the work, which really changed my perspective of his work. After the lecture I noticed that his work really focuses on body adornment and thinking of it in this sense made it more appealing to me. I liked his face corsets work that focused on the idea of body manipulation. I like how he took this idea and saw a great deal of potential in it with the exploration of it in materials and shape. His work relating to the patient records of the First World War's Servicemen about the origins and development of surgical facial reconstruction pioneered by New Zealander Sir Harold Gillies was really his most popular of work. This was also focusing on the face but swayed from the face adornments to making uniforms decorated with personal documents and information about the surgery they undertaken. I thought this was something very sentimental and delicate issue and make it into something beautiful. It was very well done with relation to how the surgery worked and replicated it in the work.


Tuesday, 11 December 2012
Tutorial with Kate
My tutorial with Kate today was really good. We discussed what I could do for my finished piece and discussed that I could make a sample quilt instead of a full quilt. I could make a series of sample quilts, like 3, but I'm not sure I could manage to finish 3.
I showed her my leaf and gave me some ideas on how I can use them as well as actually expressing my own ideas that could just be ideas for in the sketchbook. We discussed that I will need to after I've finished sampling to then begin combining my ideas to form the quilt.
Kate gave me a few really good quilting books to look through to help finalize or inspire some of my ideas. These books will be really useful for my sketch booking, sampling and 3DSP.
Monday, 10 December 2012
3DSP Tutorial: formative feedback
I had my feedback for the 3DSP formative assessment. The only concern was that I didn't have any samples for quilting for the assessment when I had described that Quilting was what I wanted to explore. But by this point I had already a nice range of quilting samples made. The formative assessment really triggered a desire to work continuously on my 3DSP project.
Knitting Machine Workshop
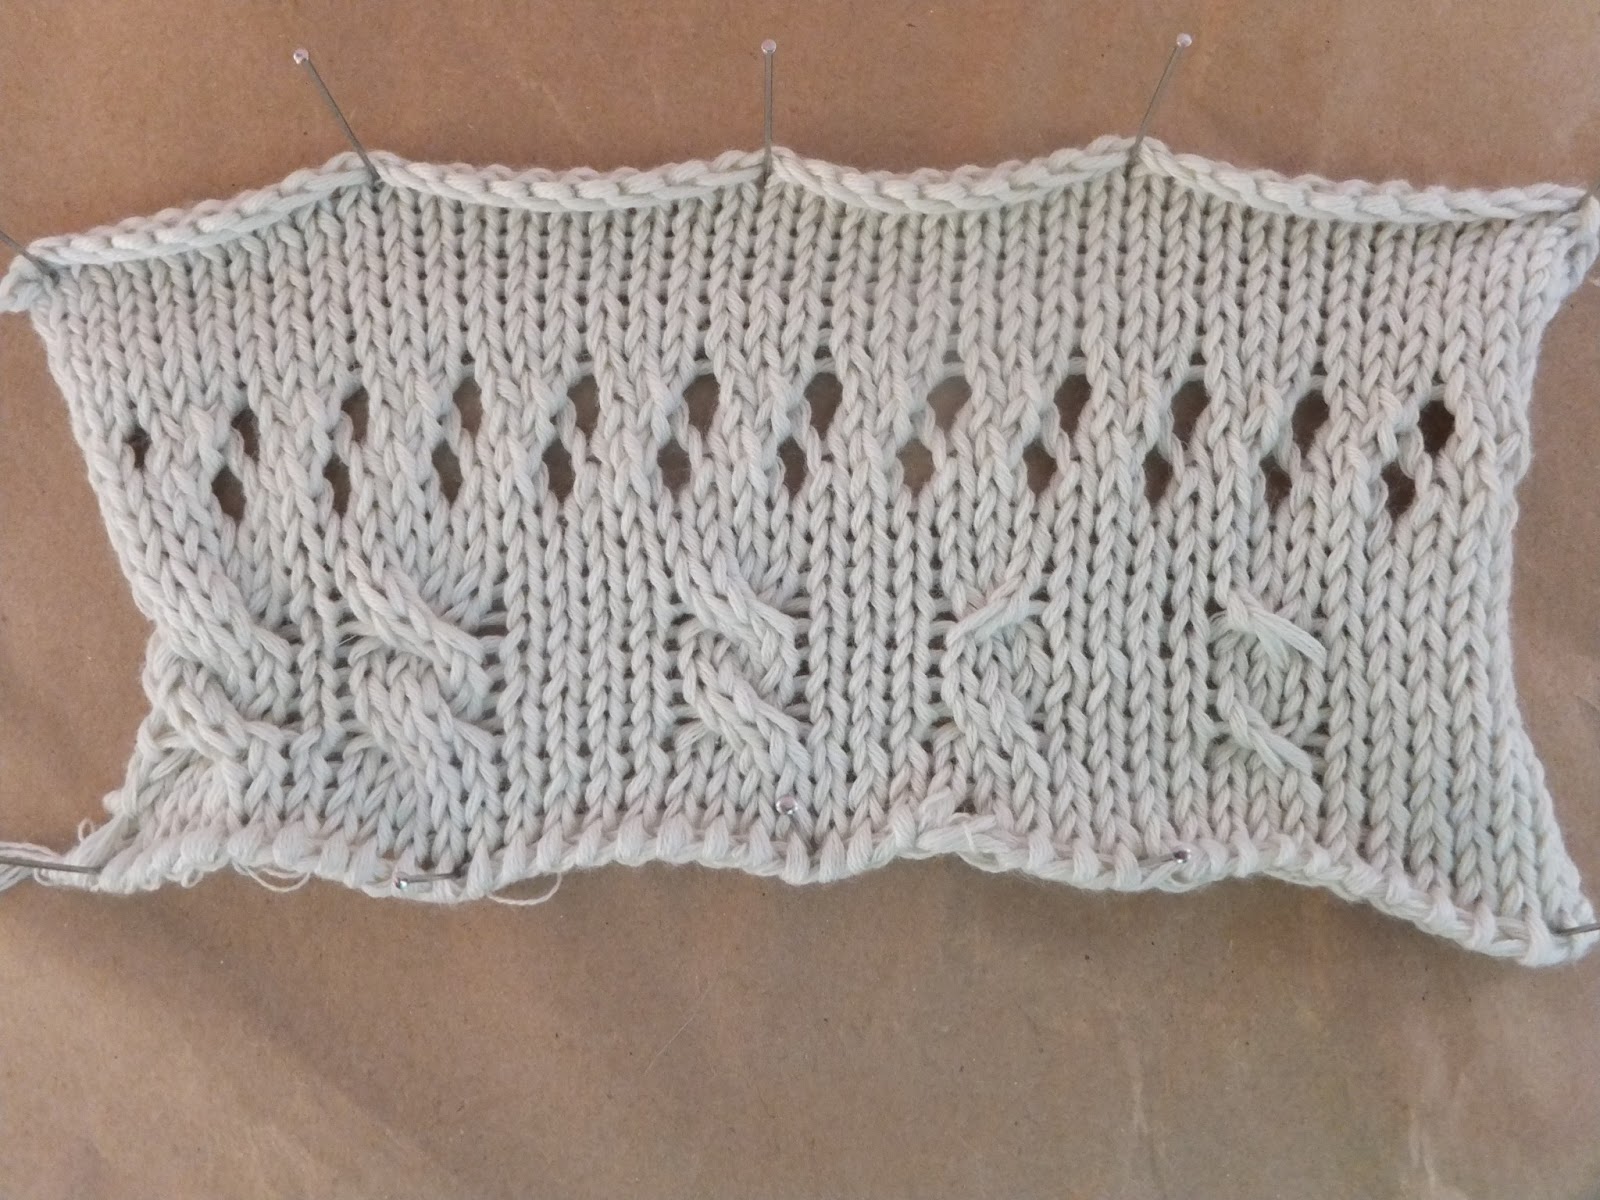
This week starts with an introduction to the knitting machine workshop. Even though I had already attempted the knitting machine before and have a very basic understanding of the machine but I attended with hope to further my knowledge of the knitting machine. This was a wonderous workshop as I learnt so much and recapped lots in one day. I went over casting on & off and lace holes again but found out about picking up dropped stitches, twists and changing colour. I was able to create a sample patch for each process where I'd try to show a range of what I could do with the process. I was shown how to create my own ball of yarn by combining yarns together that I then knitted with. We also got demonstrations on how to use the pattern cards and to hook the end back on and with the addition of lace holes in the middle give a nice lacey bumpy finish. I also learnt that I could knit with jewelers' wire. I sampled knitting the wire on it's own and combined with yarn to see the difference. Knitting with wire allows it to be molded and shaped. Knitting with the wire on it's own was difficult as you need to get the tension right. It took me a couple of attempts as the wire would break.




Thursday, 6 December 2012
Michelle Griffiths
This weeks Gravity lecture was from Michelle Griffiths. Michelle creates three dimensional formed fabrics. When first seeing her work I was really interested in how she even makes this possible. She began using a technique similar to schibori where we would wrap and stitch the fabric around screws and by steaming the fixed thing for it to keep the form. She also experimented with the addition of oil paints to the fabrics which made the most amazing and vibrant pattination. With her visit to the origin of schibori textiles she was able to see and learn more about the process which allowed her work to expand more in the manipulation of fabrics. Her formed pieces remind me of the sea plant life and urchins Even though made with man made objects, her finished pieces look very much like natural forms.


Subscribe to:
Posts (Atom)