Monday 27 May 2013

Final Piece Idea Generating

I've been trying to figure out what to make using my folded forms. I know I want me make something wearable but I need to work out what it is, where it's going to be and how will it sit. I've been trying to draw some things but the best way to do it is to use my samples to place them upon a body form to see how they work. I've also used a bigger sheet of a paper form to test more outrageous ideas. The difference between the paper and fabric is that the paper is more strict to it's form and doesn't have as much give to moving. So I know that the fabric won't sit into some of the lovely structures that the paper produces. I have decided from playing with the shapes to make a skirt and arm bands both incorporating the tuck lines along with the folds.


Thursday 23 May 2013

Over Locker Sampling

Thinking of my final piece, I need to find a way of finishing the edges of the fabric to stop it from fraying. I was suggested to  try using an over locker or to run a zig-zag stitch down the edge. The zig-zag stitch is what they used before the over locker was made. The over locker was specifically made for finishing the edging of fabric. It uses two needles with the input of four different threads that make the stitching. As your stitching the machine is also able to cut off the edge of the fabric before it's stitched that allows the edge to be straight. I had a go at trying out some different ways of putting the fabric through. You can use the over locker to join the edges of two layered fabrics. I tried different folding of the fabric as well as the straight edge. From looking at the edge of a t-shirt I tried a folding that would hide the stitching on the inside and a folded edge. After sampling these I tried them again on silk to see how they would be changed on the fabric I'm using or handled differently as silk can be a bit slippery. After I found that the silk was successful I tried the over locker on a folded piece to see how it would effect the folds. A straight stitch worked fine and kept the folds in the fabric but the folded stitch stretched out the fabric getting rid of the folds. I also tried over locking a square and folded it afterwards to see if I can still form the stitched edge.


Monday 20 May 2013

Tutorial: Simon

My tutorial with Simon today was really good. I showed him my samples with colour additions and stitch and evaluated the better working ones. I talked about my thoughts of displaying and looking at mannequins. I now need to focus on refining my samples in final ideas and making mock up. I can start by making some mock ups in paper to start planning my finished piece

Thursday 16 May 2013

Applying the Folds

I've been thinking about how I would stitch the edge of the folded pieces to other fabric. I tried stretching the folds out to sew along the edge but it wasn't looking right as it flattened the edge too much. Through some playing around with the folds I've worked a way by folding a line in the opposite way to get it to stitch together. This is a big turning point in my work which means I can combine it with my tuck and work towards refining and making a product. My only concern now is how i'm to finish my fabric work so that the fabric doesn't fray.


Wednesday 15 May 2013

First Cut Exhibition

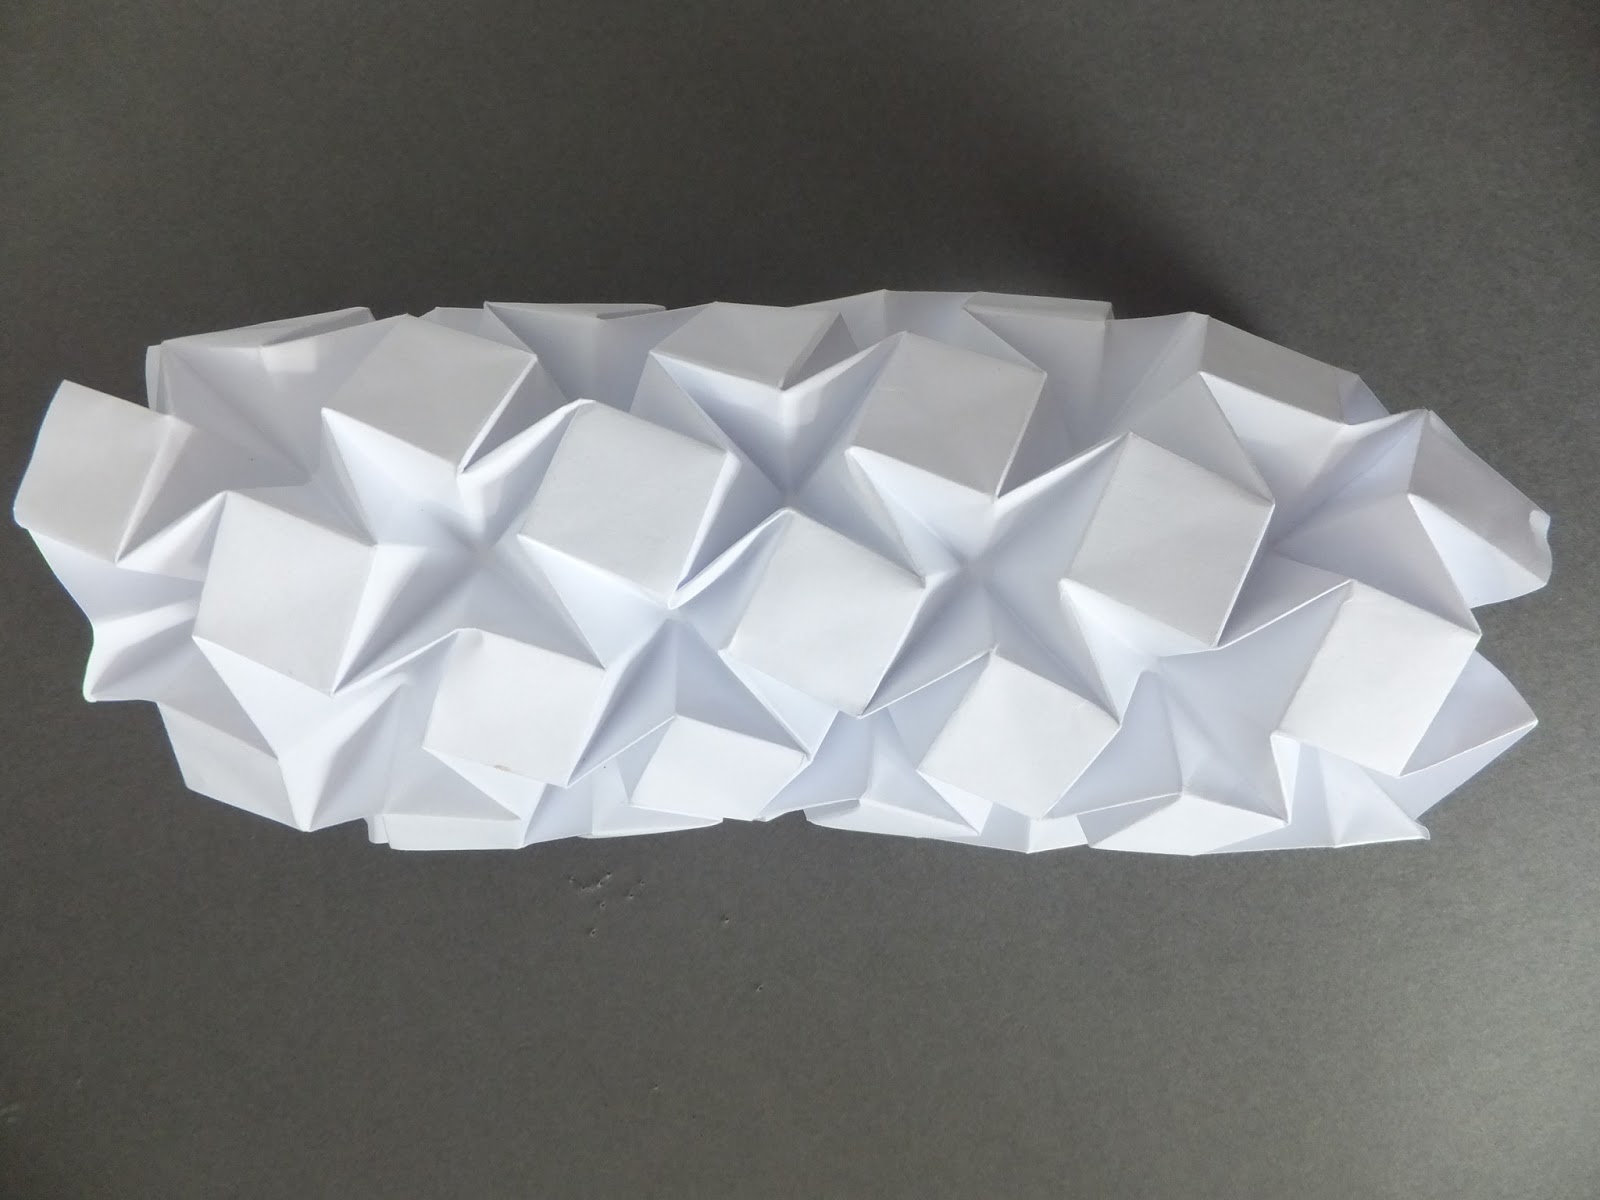
Today I went to an amazing paper exhibition in Nottingham. The first cut exhibition showed a range well known paper artists. I had seen most of the work in books but it was so much better seeing it in person.

The most related thing to my work that I saw was Susan Cutts' and Violise Lunn's paper dresses as I'm looking at adorning items. These were amazing hanging in mid air. They looked somewhat haunting as they were shaped like they were being worn. The exhibition showed a range of was in which you can make and display paper art. There was cuts, sculpture, clothing, installations, short film, and wall pieces ranging for really small to a whole room.

It was so amazing to see work in real life that I've been inspired by and admired from inside books for so long. There wasn't a piece there that I didn't like. It was if the exhibition was tailor specifically for me. After looking at all this paper work it made me miss working in paper.
 
Susan Cutts

Violise Lunn

Andrew Singleton

Claire Brewster


Andrea Mastrovito

Laura Cooperman

Nicola Dale

Chris Jones

Manabu Hangai

Peter Callesen

Su Blackwell

Rob Ryan

Monday 13 May 2013

Stitch Tests

Looking at adding colour to my folded pieces I worked on testing different types stitch on the folds. I tried stitched along different lines to find out the out come. The pink lines that follow the top of the folds seem really obvious and takes away from the crisp fold, making them softer. The blue lines that follow the inside zigzag folds are hidden amongst the folds and are hardly noticed. The yellow lines however I really like as they are straight lines dissecting the folds and tie in with my use of straight repetition of lines. The yellow straight lines are my most successful stitch test. I also tried a combination of all three on one folded sheet but it looked a little crowded for what I wanted as I'd want it to be subtle. I quite liked the combination of pink, blue and yellow, it reminds me of the CMY colours. I tried to use neon colours in relation to my white to keep to a bright and vibrant colour code, also neon additions are very popular right now.


Colour Addition to Fabric Folds

After testing colour additions to my folds, I picked my favorite and got it digitally printed on silk. After a day of drying I peeled it off the paper back and folded into shape. This is a very effective use of colour, as it emphasizes the folds than distracts from them.

Wednesday 8 May 2013

Colour Addition to Fold Tests

I was inspired to add colour to my samples from a folded lamp shade by Nellianna, who works in making paper origami shades. Their striped shade gave me the idea to use colour in the same manor of in a line in the folds. I worked out on illustrator the ratio of the colour addition and printed them off in paper to test the look of them in a multitude of ways and folds.


Tuesday 7 May 2013

Tutorial: Mel

My tutorial with Mel today was helpful. She made me feel at ease about the worries I was having about making a wearable piece from my folded fabrics. She reminded me that if I want to do something I just need to try and make it, instead of resisting and doubting myself. It's just like last year when I wanted to make a paper dress she told me to just get on with it and do it anyway and it worked out. I realized as She started saying it that that was going to come up. She helped me out with some diagrams for starting ideas for my skirt or shoulder piece. She also mentioned that I can try to combine my folded forms and tuck lines together in the item. This is great because I was worried they had been lost and left out by me concentrating on the folded forms. what I need to do now is draw and design wearable objects with the samples.

Thursday 2 May 2013

New Folds

I've been researching I've been looking for new folding patterns similar to my previous ones that I can use to expand from my current favorite pattern. I have found a few and tested them out. I really like these patterns as like the other one they have interesting and different patterns on both the sides. The difference with these is that they don't fold flat. So if I was to try to translate them into fabric forms then I will have to work a way around so that I don't put it in the heat press.