I had my feedback for the 3DSP formative assessment. The only concern was that I didn't have any samples for quilting for the assessment when I had described that Quilting was what I wanted to explore. But by this point I had already a nice range of quilting samples made. The formative assessment really triggered a desire to work continuously on my 3DSP project.

Monday, 10 December 2012

Knitting Machine Workshop
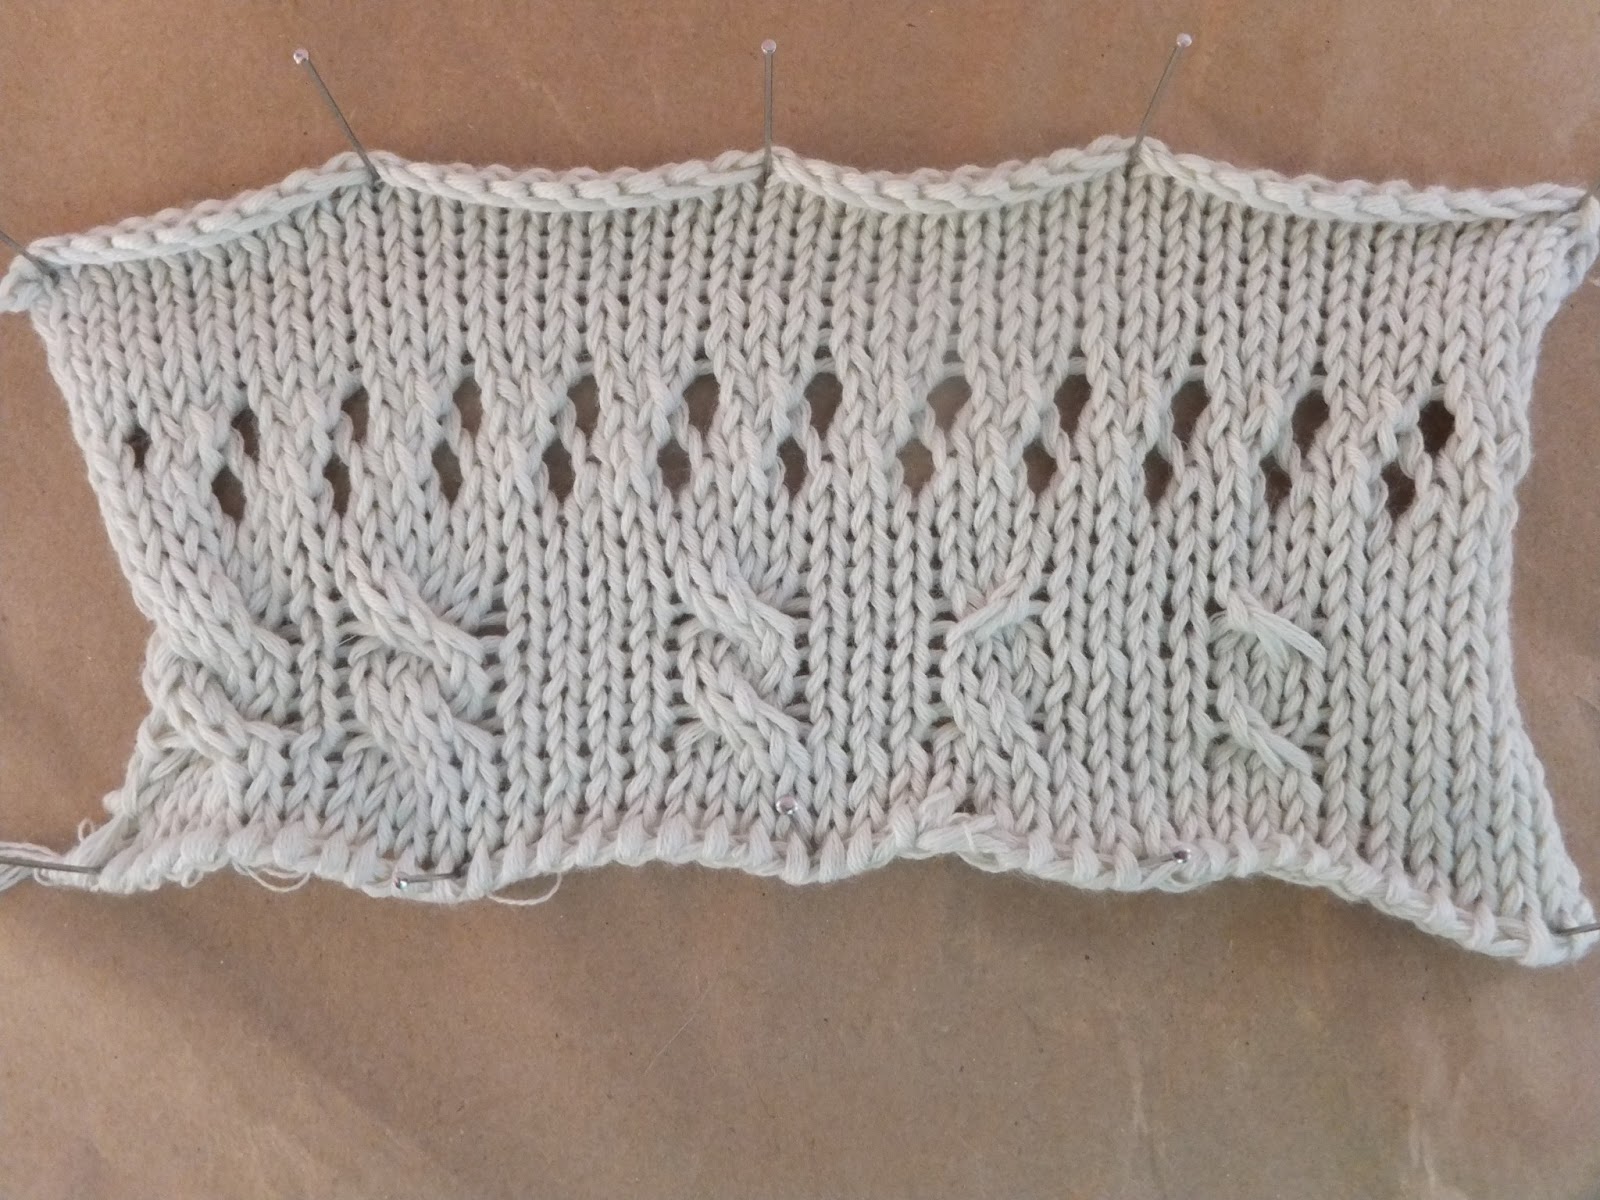
This week starts with an introduction to the knitting machine workshop. Even though I had already attempted the knitting machine before and have a very basic understanding of the machine but I attended with hope to further my knowledge of the knitting machine. This was a wonderous workshop as I learnt so much and recapped lots in one day. I went over casting on & off and lace holes again but found out about picking up dropped stitches, twists and changing colour. I was able to create a sample patch for each process where I'd try to show a range of what I could do with the process. I was shown how to create my own ball of yarn by combining yarns together that I then knitted with. We also got demonstrations on how to use the pattern cards and to hook the end back on and with the addition of lace holes in the middle give a nice lacey bumpy finish. I also learnt that I could knit with jewelers' wire. I sampled knitting the wire on it's own and combined with yarn to see the difference. Knitting with wire allows it to be molded and shaped. Knitting with the wire on it's own was difficult as you need to get the tension right. It took me a couple of attempts as the wire would break.




Thursday, 6 December 2012
Michelle Griffiths
This weeks Gravity lecture was from Michelle Griffiths. Michelle creates three dimensional formed fabrics. When first seeing her work I was really interested in how she even makes this possible. She began using a technique similar to schibori where we would wrap and stitch the fabric around screws and by steaming the fixed thing for it to keep the form. She also experimented with the addition of oil paints to the fabrics which made the most amazing and vibrant pattination. With her visit to the origin of schibori textiles she was able to see and learn more about the process which allowed her work to expand more in the manipulation of fabrics. Her formed pieces remind me of the sea plant life and urchins Even though made with man made objects, her finished pieces look very much like natural forms.


Wednesday, 5 December 2012
Machine Stitch Quilt Samples
Carrying on with my 3DSP samples I explored the difference in the effect of quilting with the change in the distance between the stitching. I sewn lines of stitching across fabric sandwiched wadding. Each sample's stitched lines got further and further apart to give a variety from little to big spaces between the lines. I also tried another range of samples where I had stitched another set of lines over the first lot creating stitched squares. As the space between the stitching got smaller the piece became less malleable and stiffer. The smaller spaced samples were flatter and more controlled. The larger spaced samples were very loose and flexible. The extra layer of crossed stitching in a different direction became more fixed and stiffed the fabrics and wadding quite strong to the one way single layer of stitching. When crossing over stitching I'm creating pockets and with pockets you need to be careful to keep the fabric flat out when making so not to get lumpy fabric.
Tuesday, 4 December 2012
Patchwork Samples
Later today I carried on with my 3DSP quilting by looking at patchwork. Using The Singer Quilting Bible I was able to look an assortment of different patchwork patterns. I wanted to try the range of shapes, Square, rectangle, triangle and curves. I started with square and rectangle patchwork which was relatively easy with straight lines to sew. Following the books instructions and previous patchwork projects for cushions has taught me that it helps to iron down the seems of the pieces after each stitching. It takes a lot of planning and measuring before actually putting together a patchwork piece, even small ones. Planning for the triangle patchwork was not as easy to prepare the patches as I had to use the Pythagoras theorem I used in maths lessons many years ago to work out the lengths of the some sides of the triangle patches. The curved patches were the most difficult to pin and sew together and they still didn't match up properly and had ripples in the fabric at the seems. Like the others it was supposed to be square but pinning and stitching the pieces together was so difficult that it became misshapen. I really do not want to do curves ever again, they really don't work out very well at all.


Made In The Middle: Jennifer Collier and Imogen Luddy
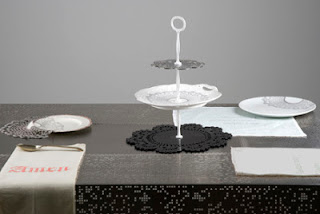
Today we had lectures for Discourse from artists Jennifer Collier & Imogen Luddy exhibiting at the touring Made in the Middle exhibition. The exhibition considers the ‘Pathways to Craft’ by picking out artists as case studies to show the various routes to careers in making. This then was the theme for which Jennifer Collier & Imogen Luddy talked about in their lectures. They Started with what they did at university and followed with their series of work that led from that and how it changed at got them work. They also talked about what other work they do alongside their career in making. Collier discussed her work spaces that she rents out to other makers and Luddy expressed her fondness of teaching that assists with her own making. As I am considering going into teaching myself I related to Luddy's talk and agreed with her reasons of teaching as they are very much like my own. After the talks I got to look at Luddy's sketch books that were incredibly beautiful with a mix of delicateness and dark themes, an interesting contrast like her use of techniques of working that are traditional crafts with technology and digital process.


Jennifer Collier

Imogen Luddy
Monday, 3 December 2012
Stitch Quilt Samples
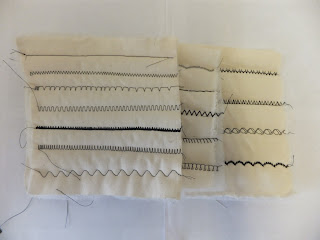
With my 3DSP formative assessment tomorrow it has kicked me in the arse to get focused on my quilting samples. Alongside getting my tech file ready I have been exploring the different stitches on the Bernina sewing machine. This was a a great first step for my quilting looking at the many different stitches I can quilt with and see how the stitches react quilted. The different stitches from the Bernina show a range of different patterns. The great thing about the Bernina sewing machine is that it has a display of how to set up the machine for each stitch pattern.

Subscribe to:
Posts (Atom)